

This guide provides information on the contents included when unboxing your Accordion A2, instructions on how to initiate your device, and the process for installing the necessary software on your computer.
Web resources
|
Title |
Comment |
|---|---|
|
The python package for Accordion |
|
|
Description of the Web API |
|
|
For .NET users out there |
|
|
Command-line tool for working with Accordion |
|
Accordion Pilot installation file |
|
|
Youtube video of how to get started |
You will need a network cable to connect your Accordion and a PC to install the software. Both will need to be connected to the same network during the installation and startup process.
Unboxing your Accordion
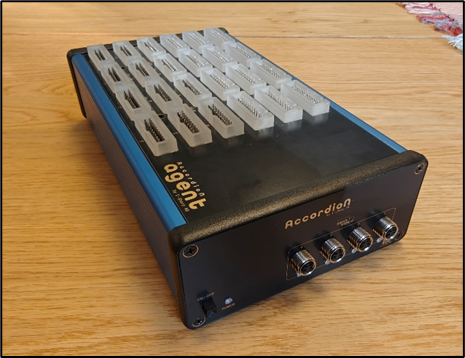
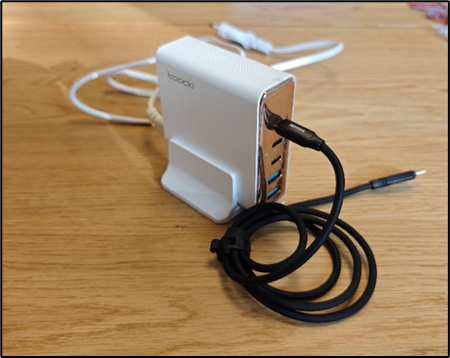
Inside the box, you will find an Accordion device and a USB power supply. The Accordion device may have various configurations and its appearance can differ on the front, back, and top sides.
Connectors and buttons
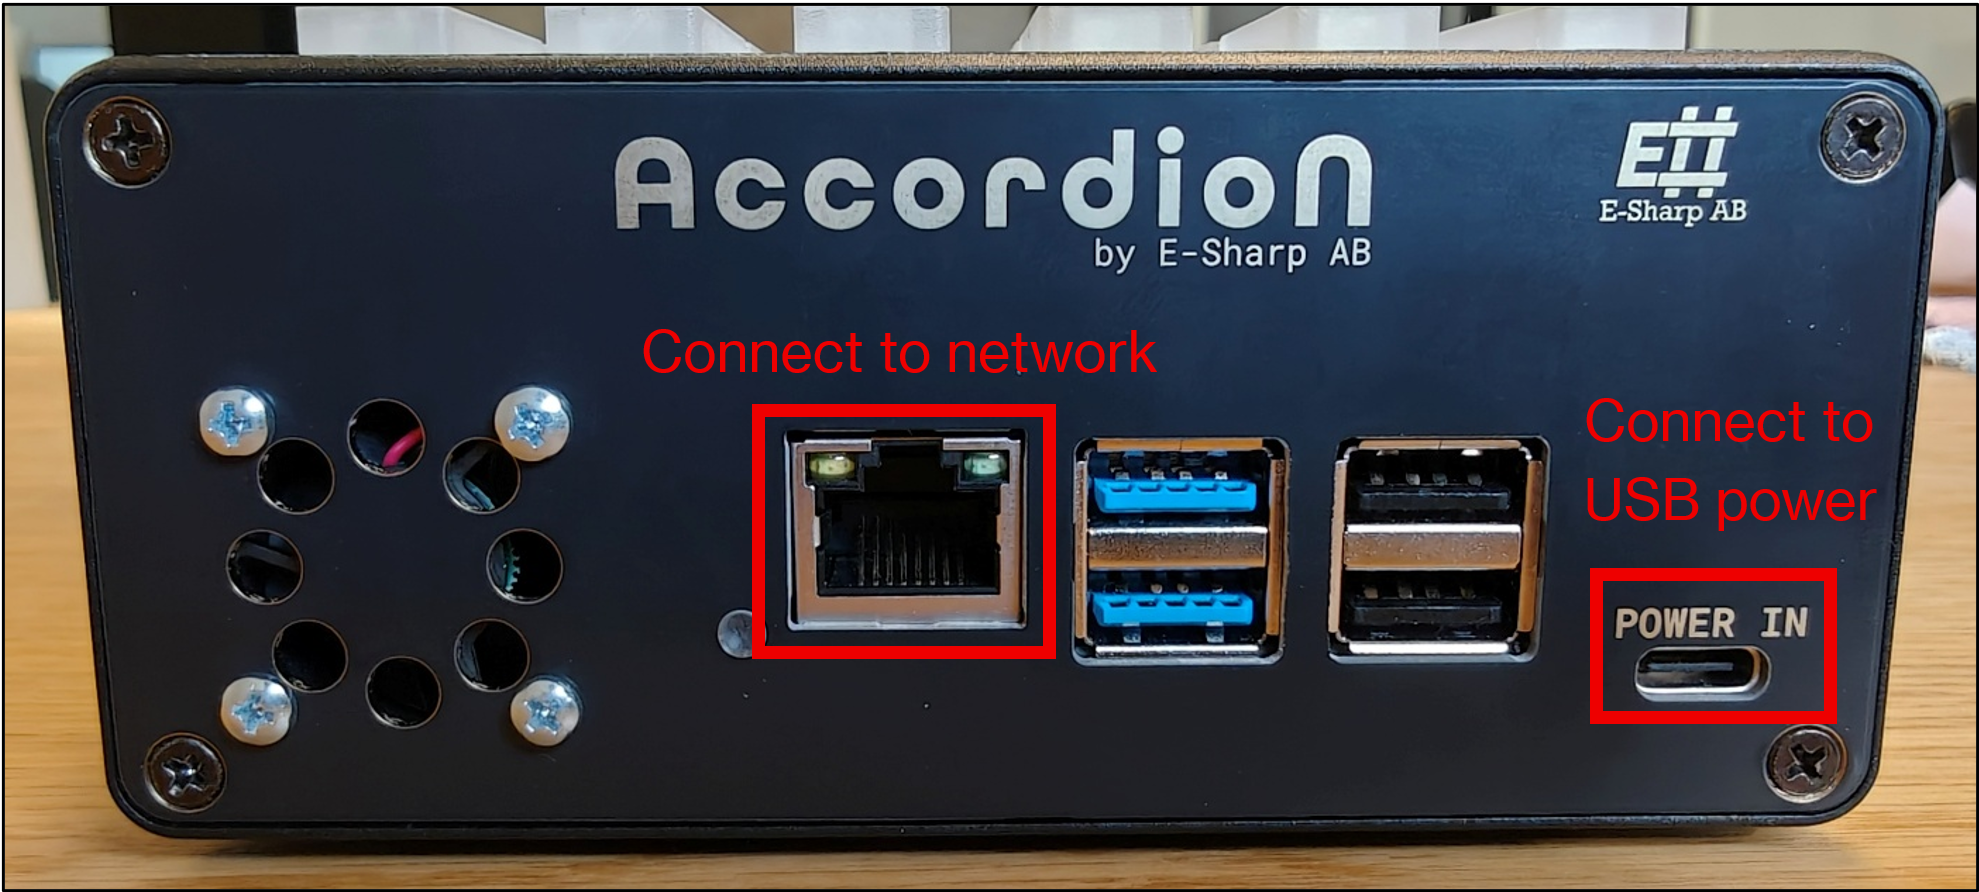
Front side connectors
Located on the front panel of your Accordion are standard connectors that are crucial for its configuration and setup. These include the network connection port, a USB-C power port, and four USB-A ports for connecting external devices.
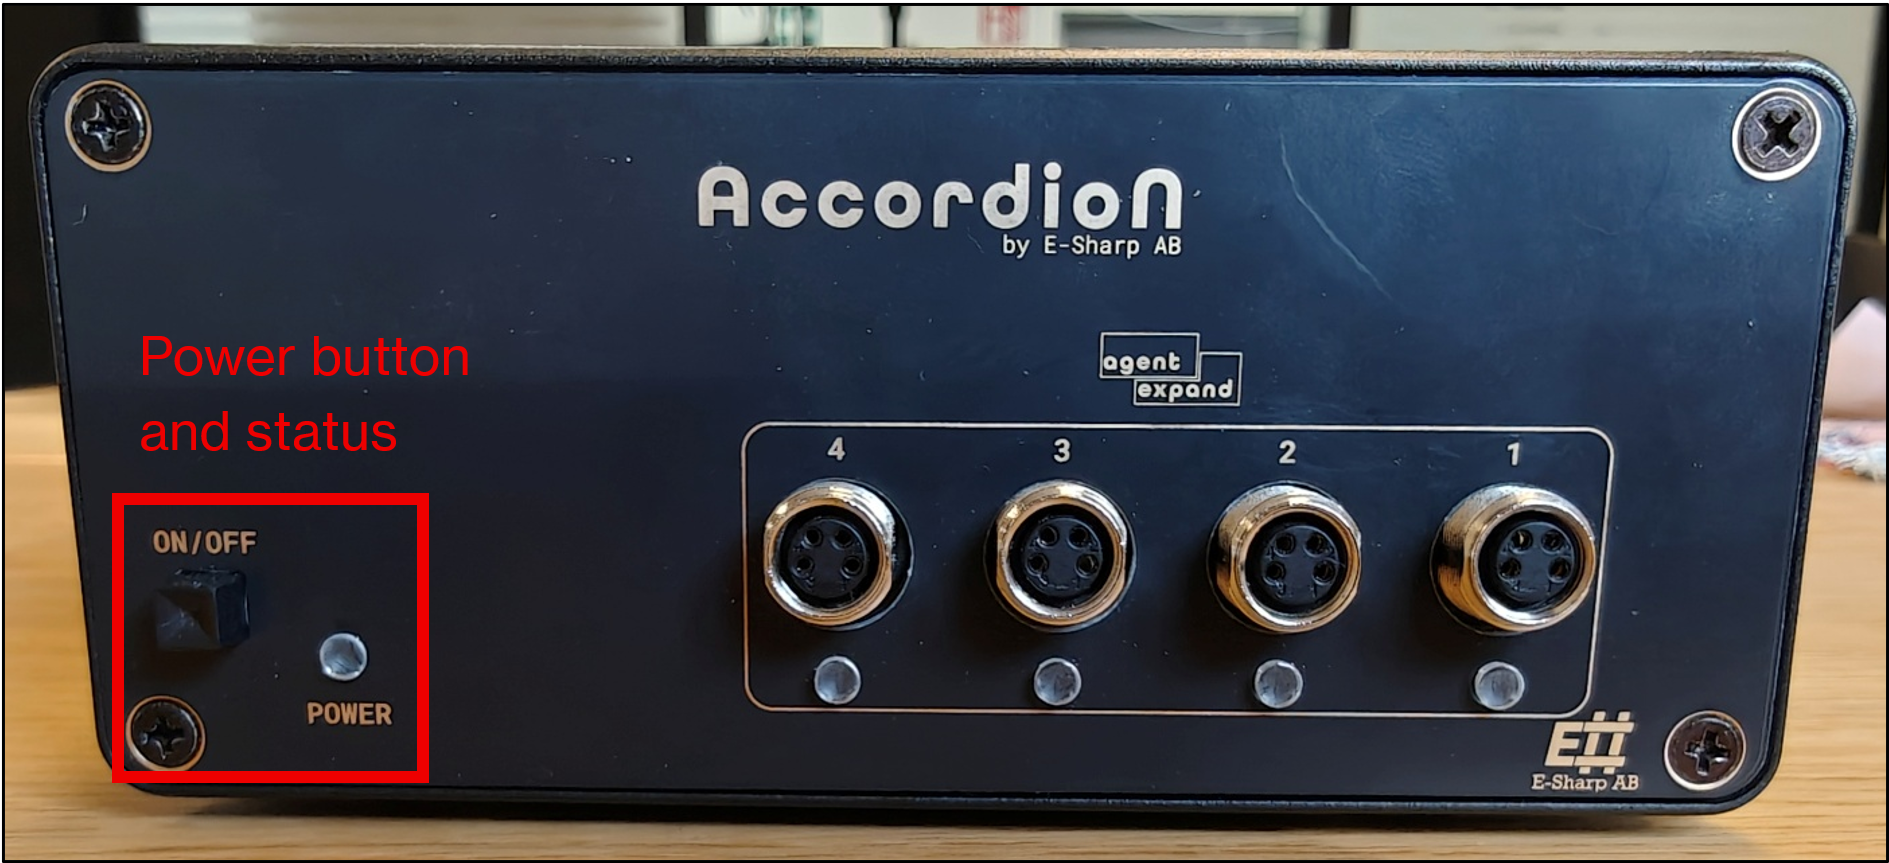
Back side connectors and power on
Located on the device's opposite short end, all models are equipped with a power button. Additionally, M.2 modules and expansion interfaces, are positioned here if they are part of the device's specifications.
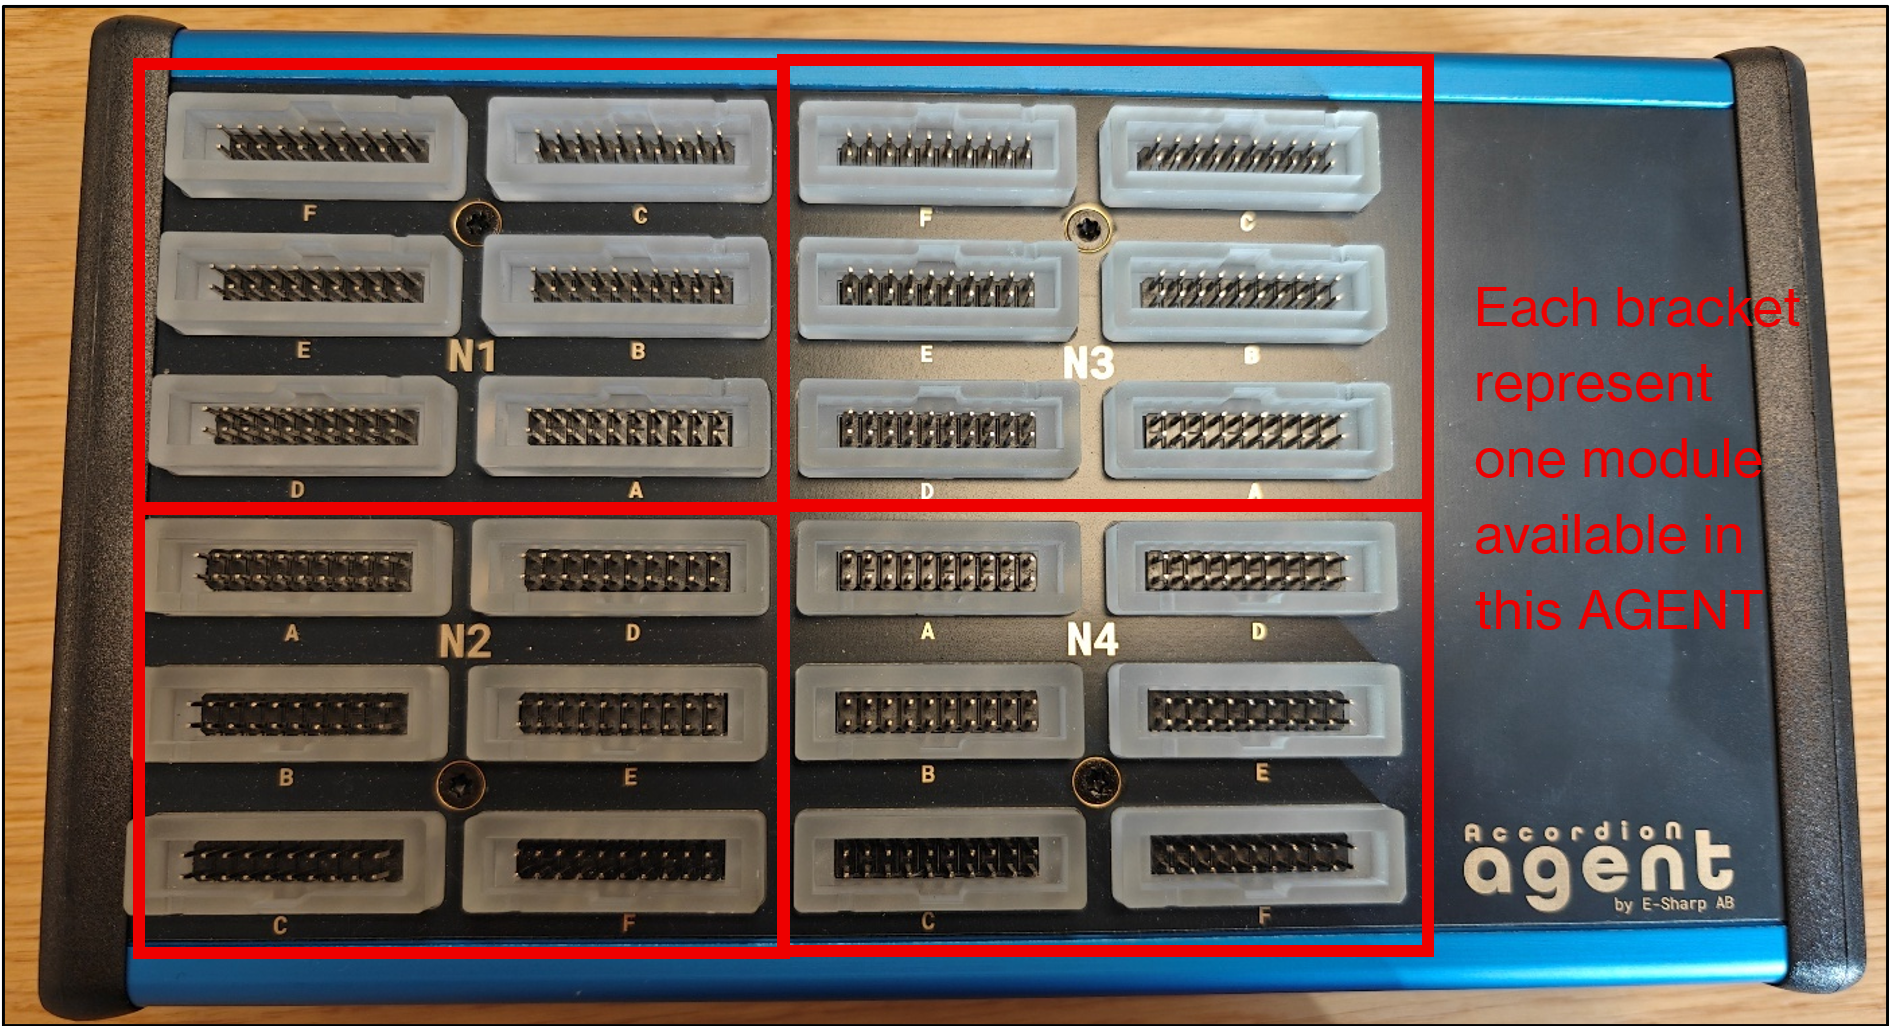
Top connectors
The SO-DIMM module connectors are positioned on the top of the device. Their specific design and appearance vary according to the device's technical specifications.
Startup
Operate the device by following these steps:
-
Connect the power supply to an electrical outlet.
-
Connect the Accordion to the power supply using the USB-C cable.
-
Connect the Accordion to a network with a network cable.
-
Ensure your PC is connected to the same network using either a cable or a wireless connection.
-
Press the on power button on your Accordion .
Installation of software
E-Sharp has engineered software drivers for the Accordion and its functionalities, which are accessible through Application Programming Interfaces (APIs) or Graphical User Interfaces (GUIs).
This user guide commences with an introduction to the GUI, Accordion Pilot, designed to facilitate your initial interaction and operation of the Accordion device.
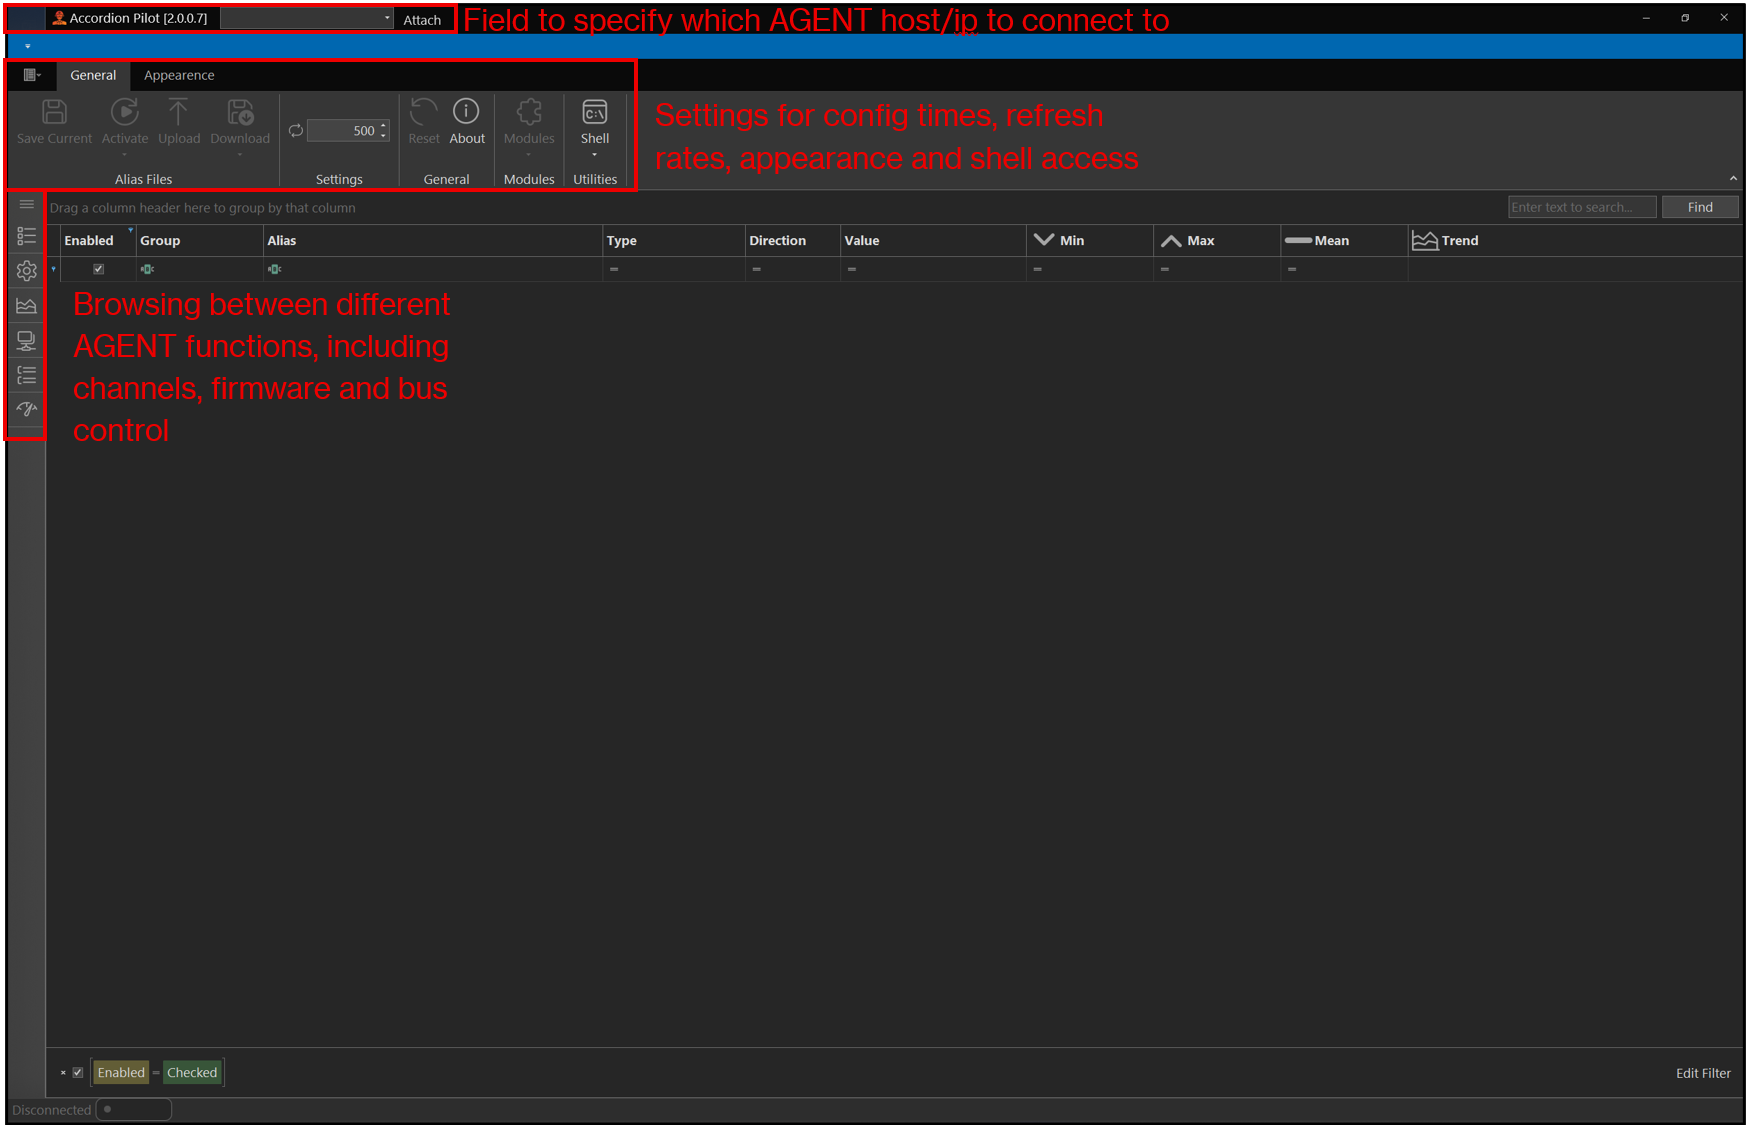
To install Accordion Pilot, download the setup file here: https://esharp.atlassian.net/wiki/spaces/EP/pages/48267283 and run the installer. After installation, launch the program. Accordion Pilot will start with its default settings, as shown below.
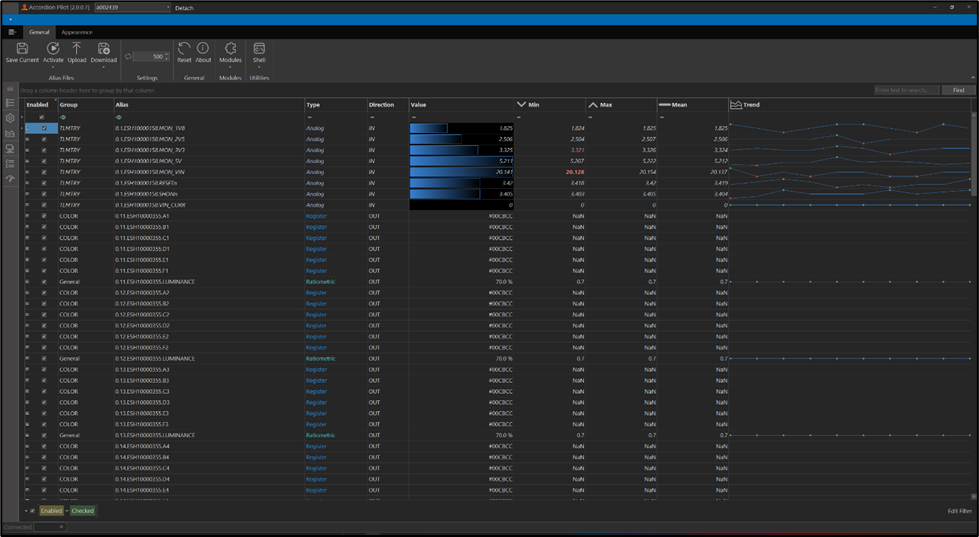
To establish a connection with the Accordion A2, input its host name, which can be located on the device, or its IP address into the top field. Once the device is connected to the network, the attach option becomes enabled. Selecting attach initiates Accordion Pilot to poll the Accordion , enabling it to retrieve and display data as illustrated.
Please note that the graphical interface is designed solely to display activity and facilitate device configuration. The Accordion and its associated modules operate independently of the use of Accordion Pilot.
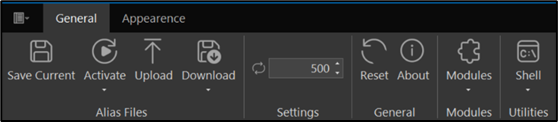
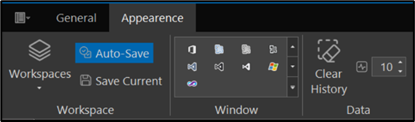
This interface provides access to various device settings. The general tab located at the top enables users to save, activate, and upload alias files to the system. Users can adjust the data refresh rate from the default value of 500, which specifically influences the frequency at which data is retrieved and displayed within the GUI. Within the appearance tab, the GUI can be switched among several color modes. These preferences are stored as distinct workspaces.
By default, the Accordion channel list presents real-time values and configurations for each device channel, which corresponds to a specific function or property. The channels displayed in this view vary according to the Accordion A2 device specifications. Users have the ability to filter and modify each column. The channel names are shown in the alias column.
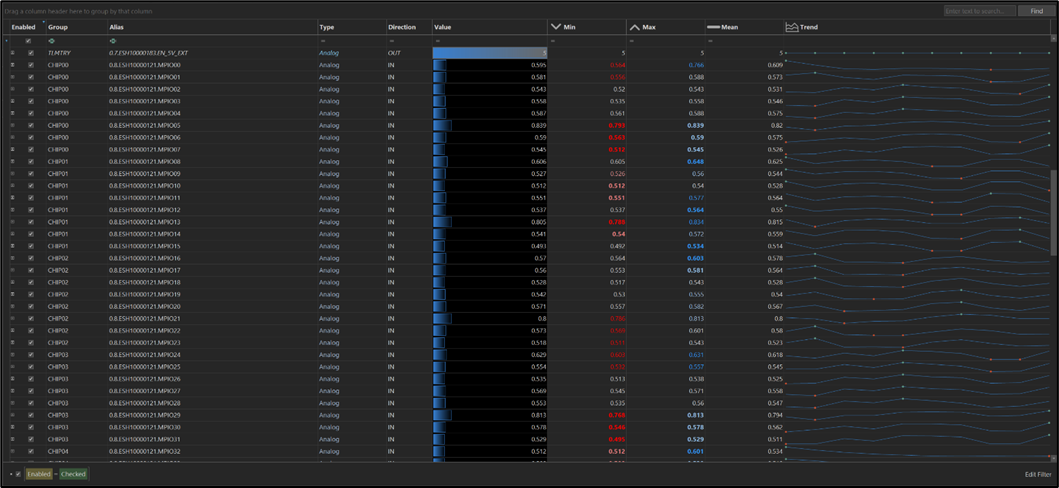
Depending on a channel's configuration, you can either set or read its data. For instance, locate a channel with an alias name that includes ESH10000355 and has the direction set to OUT. This specific channel manages the colour of an IDC connector located on top of the Accordion device. To change the connector's colour to green, select the value field and enter "Green".
